Rails API Token Authentication
May 19, 2017
In this post I'm going to be walking you through one way to add basic token authentication to your app. It's important because in the future you might decide you wanna throttle your API usage to users who might use it excessively and wreck your server. Plus it's easy to setup so why not?
If you've been keeping up with the series and have your code from the previous post Adding Rails Versioning then you're in good shape. If you wanna follow along from the beginning just go to my first post on Creating a Rails API. If you'd just like to start here then you can download the code from GitHub here.
Generating API Tokens
You have a lot of options for where you might wanna keep the API tokens generated for users. For this API we'll create an ApiKey model that will take care of holding our tokens inside an attribute called access_token. To Generate the model we'll be using the handy rails generate command. To create the model and attribute we'll open the terminal, navigate to the project, and type this command in.
rails generate model api_key access_tokenThis will generate a few new files but the only one we care about is the api_key.rb file inside the models folder. Before we start adding anything to this file we first need to migrate our database to use our new generated model. To do that just type in the following into the terminal.
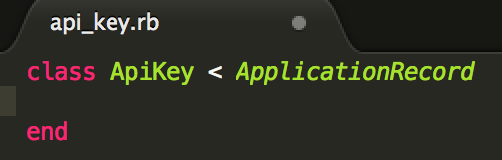
bin/rails db:migrateWith that done we can now add the logic inside of api_key.rb to generate tokens when we create an instance api_key. Right now the file should look empty just like mine.
Adding Logic to Our Model
Inside of the class we'll be adding a hook into the life cycle of our model. What that means is when we do something specific such as create, destroy, validate, or any other life cycle change we're gonna perform an action. In this instance, we wanna generate a token and add it as our access_token. Inside of your class add the code below.
before_create :generate_access_tokenThe above code will make sure the method generate_access_token is run before the object is officially created. So we next need to add into our class the method that will be run. Add the following code below the line we just added.
- Declare a new method inside the ApiKey class called generate_access_token. You'll also notice above it the private keyword that will hide this method from anyone outside of the class.
- This is what you'd call a block in most languages. We'll be using it do a very similar fashion as we would a do...while loop.
- When we generated this model we also created an attribute called access_token that we want to hold a random token for users. Here we're using the SecureRandom module to create a randomly generated number and then we're making sure it's a hex.
- Our block of code should end here if it adheres to the condition we tacked on after the while keyword. The method we're using "exists?" is going to look for any matching access_token and if there is one then the block will run again. This is to ensure that our API keys are all unique. It'll run until a unique access_token is generated and then end the block.
If you followed all of that and added it to your file then your file should be looking like this.

Testing the New Model
We won't be adding any real test but if you'd like to see the model in action then we can do that easily. Inside of your terminal and still inside of the API, type in this.
bin/rails consoleThis will present the rails console which will have access to our new model. In a single line we can create a new ApiKey instance and save it to our database. When we do that it'll display the attributes and you should see a longish hex value inside the access_token attribute. Type into the console the following.
ApiKey.create!That will create and save a new ApiKey instance to our database. If everything went well then your terminal should look a lot like this.

Alright, we've created our model to generate tokens and we can save them. Next, we'll work on making sure our controller checks for an existing token before sending back JSON so that only users with a token can access our API.
Authenticating our Tokens
When we receive a request to our API they get routed to our controller which uses an action to execute some functionality. What we want is for our controller to verify a valid token was given to use before any action is performed. Luckily our controllers have a handy callback called before_action which does just that. So we'll create a function that'll check for a valid token and if it's valid we'll go along and if not we'll reject the request.
Navigate through app > controller > api > v1 to the dog_parks_controller.rb file where we'll be making these changes. Just below our class declaration "class DogParksController..." we'll add the following line of code.
before_action :restrict_accessThis calls a method called :restrict_access before any actions are performed inside the controller. Problem is we don't have a method called restrict_access so we'll add that next. Below the private keyword, we'll declare the function restrict_access.
- This is a block that will return either true or false. It looks into the http headers for a key "Authorization" and a value "Token token=".
- We're verifying that the token value we acquire from the authenticate_or_request_with_http_token block exists inside our database. If it does then true will be returned.
If you attempt to make a request to the API you will get an error, but it won't be because you don't have a token included in the headers. You'll get a "NoMethodError" because we forgot to include the module that contains the authenticate_or_request_with_http_token method. To fix that just add this below our class declaration.
include ActionController::HttpAuthentication::Token::ControllerMethodsThat will fix the error. Make sure your dog_parks_controller.rb file looks like mine does now.
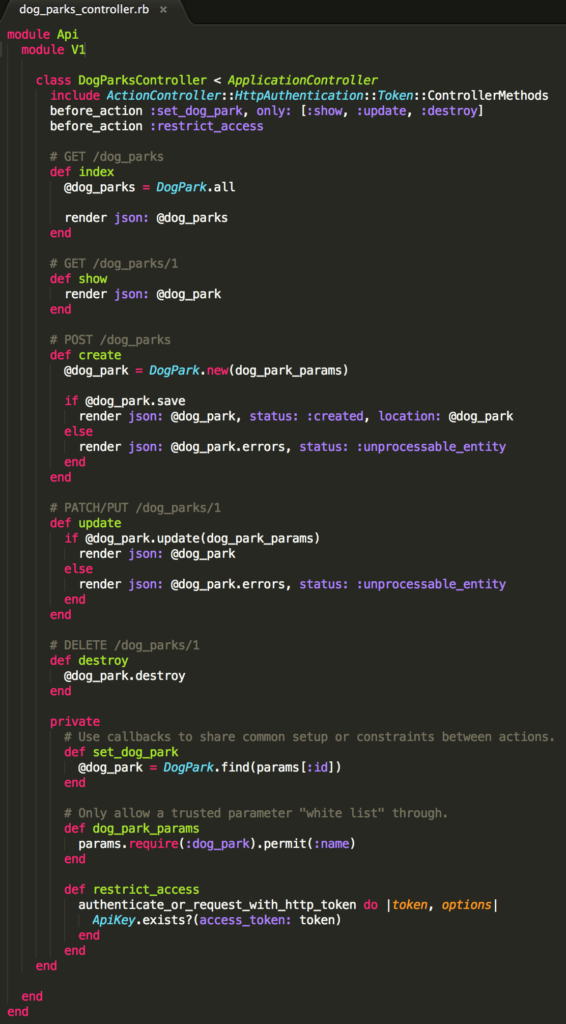
If it does then you're in good shape. Next, let's test and see if our API is working correctly.
Testing Authentication
We've done all this work and now it's time to see if it worked. I think we should first make sure the request we send in without tokens is rejected.
Testing for Failure
This will be relatively simple. Like we've done in the past you'll need to start the rails server using bin/rails server then navigate to the URL that will process our request. You should get a 401 unauthorized message in the terminal and on the page you'll see this.
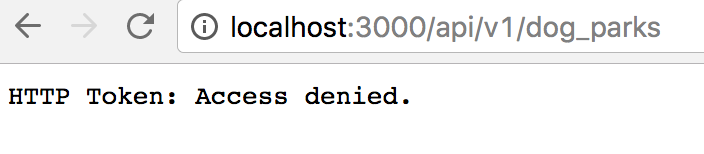
Perfect. People can no longer just make a request to our API. That's what we expected. Next, let's use the access token we generated earlier and send it in a request to make sure our API works when we provide a token.
Testing Success
First, we need the token that was generated. If you didn't write that down it's fine. Just enter the rails console using bin/rails console and put in the following.
ApiKey.allAnd you should receive back all the objects in the database. This will include the attributes as well so you should see the access_token associated with the object you made earlier.

Your tokens will be different from mine and that's fine. It's just important you copy a token or write it down somewhere to use in our request. Now since we used an authentication method that uses the header we can't just put the token in the URL. We'll need to create it some other way.
To create these request we'll be using the terminal. We can create the request using the cURL command. You can type into the terminal man curl to see the manual. Curl is by definition is a tool to transfer data from or to a server. The explanation for curl is outside of the scope for this tutorial but I'll show you how we'll use it to send a request to our API.
Inside the terminal, I'll need you to type in the following on one line.
curl "http://localhost:3000/api/v1/dog_parks" -H "Authorization: Token token=[Your Token Here]"
If that's successful then you'll see all of the dog parks you have saved displayed inside of the terminal. Pretty awesome huh? You have a working authentication system now.
I hope you found this tutorial helpful and thorough enough. If you have any questions please leave a comment or send me a tweet @josh_qn.
You can grab the final project code at Github here.
Thanks again! Auf Wiedersehen!