How to Use Protocols and Optionals to Reuse TableViews
January 16, 2016
As a developer one of the core concepts I've picked up on is the importance of reusability. You should NEVER write the same line of code twice! Programming is a constant battle against complexity and that means a healthy balance between readability and fewer lines of code! Here I'll show you how I've taken it a step further by reusing a TableView with optionals and protocols.
Disclaimer, I put no effort into the UI so try to withhold your judgements.
The first thing I did was wire up a simple storyboard with one view controller and one table view embedded inside a navigation controller. In a small project like this it would be easy to just setup another table view inside a navigation controller. But what type of programmer would I be if I didn't look for ways to type and click less?

When run on the simulator the view controller now looks like this. Two buttons on either side both leading to the same table view but drastically different story lines.

Choose your side wisely.
I chose to represent the sides with structs and each struct conformed to a protocol called ChosenSide. In the protocol I'm careful to set some of the types as optional because I don't want to always set a different value for those.
In my view controller I created two optionals.
When you click on either button prepareForSegue gets called. Next you let the table view know which side was chosen and initialize the struct. The next step is where protocols make reusing so easy. I simply assign my initialized variable to the table views variable chosenSide. This is possible because both of my "sides" conform to the same type as the variable they're being set to.
Going into great detail about protocols and types will require another post because of how much you can do with them. But in this example I'm using their power to pass around a common type from my view controller to my table view.
In my tableView's viewDidLoad function I set the title, backgroundColor, and separatorColor with the variable I assigned back in prepareForSegue. I also used nil coalescing to make sure any nil values are still successfully assigned.
Nil coalescing is one of Swift's built-in features to handle nil values. If the variable I provided to the left of the "??" is nil then the value on the right side is actually set instead. In this case there's a nil value when I choose "TheResistance" and try to get it's backgroundColor. Nil coalescing makes using optionals very safe and here it gives me the desired result of the default table view UI.
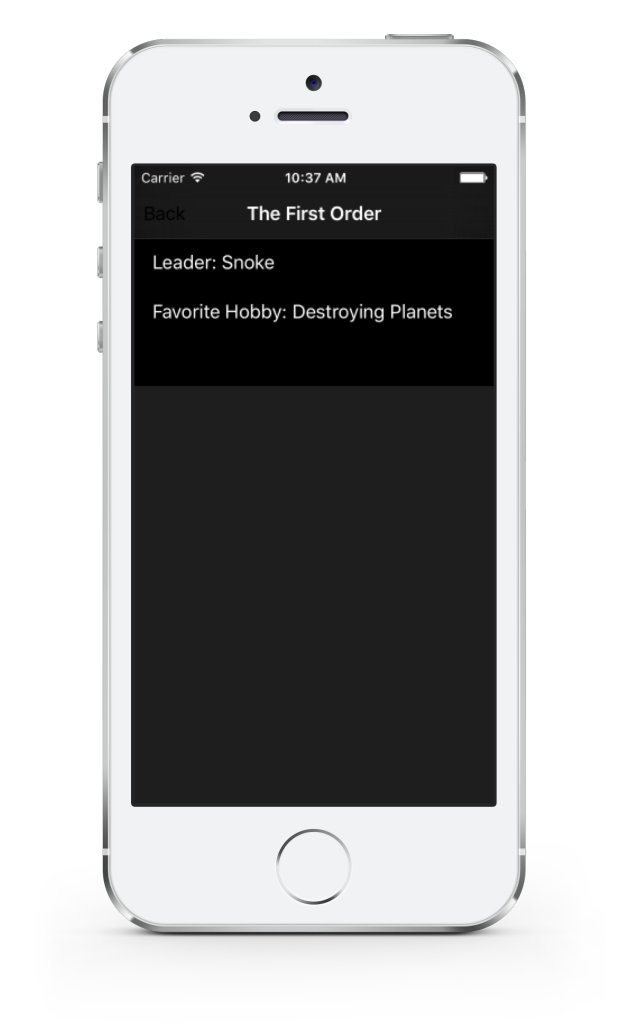
Here is what the end product looks like when I press on "The First Order" or "The Resistance". One table view, two different results.

A more practical use of this might be when you create a to-do list. Most people create one table view for adding items and another for editing items. That's an ideal situation for reusing a table view because you're adding and editing an object with the same attributes.
Hopefully this article proves useful to you when creating new projects or refactoring old ones. If you think this technique is worth a shot please share it with others or like it so that others can read it too.
Thanks for reading! Here's the entire project on GitHub. Feel free to comment with any criticisms or questions about how to implement this in your projects.