Creating a Rails API
May 17, 2017
This is the first of many posts I plan to make on writing your very own API using Ruby on Rails. I won't overwhelm you with any great explanation on this first post. My plan is to use the magic of Rails to create a functional API quickly and then show you how to make a quality and scalable API in the later post.
The plan for the development of the API will look like this.
- Create a functional API.
- Add versioning.
- Add Authentication.
- Create a Swift app to consume the API using Alamofire.
Getting started with Ruby on Rails
If you're completely new to Rails and have never installed it that's okay. I won't be covering the process but here are some resources for doing that. I personal use a mac so I can vouch for that site. It was easy to follow and extremely comprehensive. When you're done just return and we'll pick up with creating the API.
macOS - http://railsapps.github.io/installrubyonrails-mac.html
Windows - http://railsinstaller.org/en
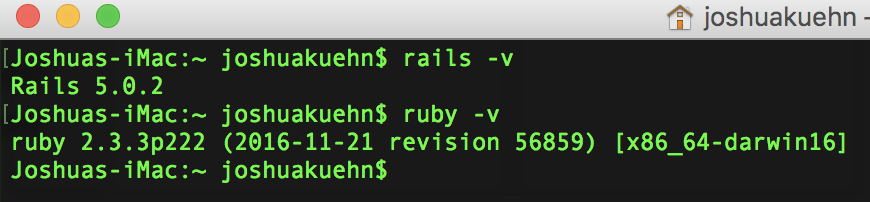
Now if you've made it this far check that you have Ruby on Rails 5.0.0+ and Ruby 2.3.0+. You might be able to get away with using a lower version of Ruby but Rails 5+ is required for this to work.
To check your version of rails put rails -v into the terminal and put ruby -v to check ruby and it'll give you back the version you have installed and are using.
Create an API using Rails
For my API I decided that what the world really needs is easier access to dog park information. You can make yours about something different or follow along with my example. Prepare yourself to be blown away by the magic that is Rails.
First, navigate to the directory you'd like the project to be in using the terminal. I'll put mine on the Desktop for simplicity. Once there you just need to type this line into the terminal rails new dogPark-api --api and that's it.

You've done it! You might've noticed rails creating and loading a lot after you typed in that line. Don't worry about that for now. Let's navigate to the folder and start our project inside the terminal. When you're inside the project folder just type bin/rails server.

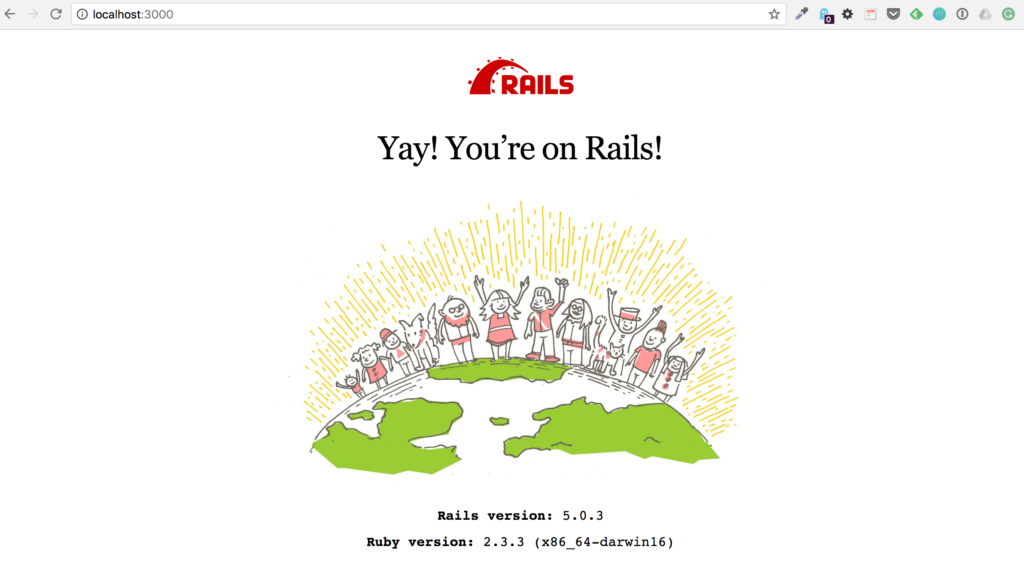
Go into your web browser and type localhost:3000/ and there you have it! Really simple right? It doesn't take a lot of effort to see a working project right in your browser. It's not an API but you might've noticed when we created the project we add --api which made sure rails excluded any assets we don't need to manage an api when creating it.
We have a working project and we've done hardly any work it feels like right? That's sorta the magic of Rails. In the next section, I'll unfold a little more of Rails magic for you when we add in our dog park resource that will structure the info for our API.
Use Scaffolding to create the Controller, Model,...
To start this section out I just want you to type in the commands and then I'll give you a little explanation. While still inside the terminal type in rails generate scaffold DogPark and hit enter. You should get something that looks like this.
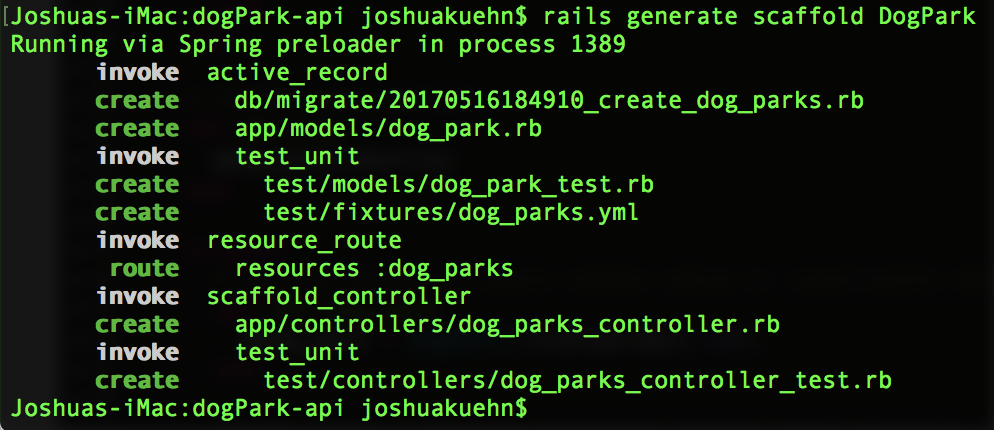
The above command did a little more Rails voodoo. The eagle-eyed amongst you might notice the command above created a bunch of new files in your project. The ones we're concerned about are in the model's folder and controller folder.
Models and Tables
The model's folder which is located in the app directory now holds a file called dog_park.rb. When you open that file it'll be empty and that's exactly how it's supposed to look. This is our model object which will represent the dog parks we have in our API.
Before moving on I wanna point out that the rails generate scaffold command did a lot of things. One thing we didn't add was any attributes to the dog_parks table it created. To add an attribute you follow this outline.
rails generate migration AddNewColumnToMyTable column_name:column_type(string by default)
Since we're adding a single attribute called name our command will be rails generate migration AddNameToDogParks name:string and then press enter and you'll see this.

This creates a migration for us which we need to tell the project to execute with the command bin/rails db:migrate and that'll add the column to our table.
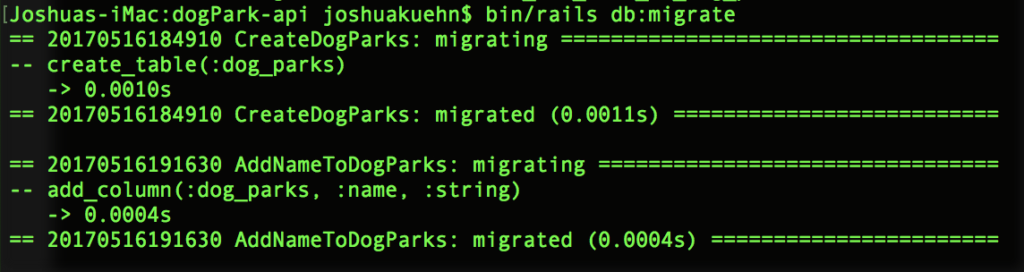
We officially have a way to store dog parks in our application with a name and an object to represent them. Awesome! We're well on our way to having something tangible to play with.
Controller
The last bit of magic I think you'll wanna see is in the app > controllers folder which should have a file called dog_parks_controller.rb. Inside you'll see a full setup for a CRUD application. All with nice comments above each method in the class.
![]()
The exact details aren't important right now but you can see how much Rails gives use for free. Because we specified it's an API we get nice JSON objects when we try to view our API objects. We'll be doing that in the next section after we add our first object to the database.
Adding Objects to the Database
The last thing I want to show you is how to add things to our API. We'll be doing it from the command line for simplicity for now. Inside the terminal type in bin/rails console to open up the rails console. That should look like this.

This is how you can interact with your API via the terminal. To create a new dog park object you can type in dogPark = DogPark.new and press enter. This will give us a new object with nil attributes across the board which we'll quickly change. Next, type in dogPark.name = "Paw Park" and press enter again.

That updates the name attribute to be "Paw Park" but all the other attributes are still nil. That's because until we save it the id and other attributes are required. To finish we'll type in dogPark.save and that'll generate the necessary SQL to insert the new object into our database.

If you've ever typed SQL statements to talk with a database you'll really be able to appreciate how easy that was. With all that work behind us, we can finally see a result from our API. Exit the rails console by pressing control-d and then start the rails server. Type bin/rails server and open your browsers then go to the localhost:3000/dog_parks.

Check it out! There is the object you created and saved to the database. It's formatted in JSON because that's what most clients have come to expect from APIs. It might've felt like a long journey but now you've created a functional API using Rails!
I hope you enjoyed reading it and found it helpful. If you have any questions please just leave a comment or tweet me @josh_qn and I'll reply back as soon as I can!
Thanks again! Auf Wiedersehen!